 Forefront
Rostering Sync Setup
How to upload rosters automatically through Forefront's Secure File folder.
Step 1: Create the file.
The file that will be uploaded to your Secure File folder has the same format as the one-time manual roster file. For instructions on how to create that file: see Roster File Contents.
Step 2: Upload the file to your Secure File folder in Forefront.
Navigate to your Secure File folder in Forefront, located in your All Resources folder (learn more here). The folder that you will upload this file to will be named for the current school year (for example, “2026-2027”). You should not have to create this folder. It will be created for you automatically. The file name does not matter.
Step 3: Setting up the import in Forefront.
Tell the Forefront system to import the file you uploaded to your Secure Files folder and tell us when you would like to run the import. Open the Jobs page from the side navigation.
1. Click Add Scheduled Job in the Scheduled Jobs section of the page.
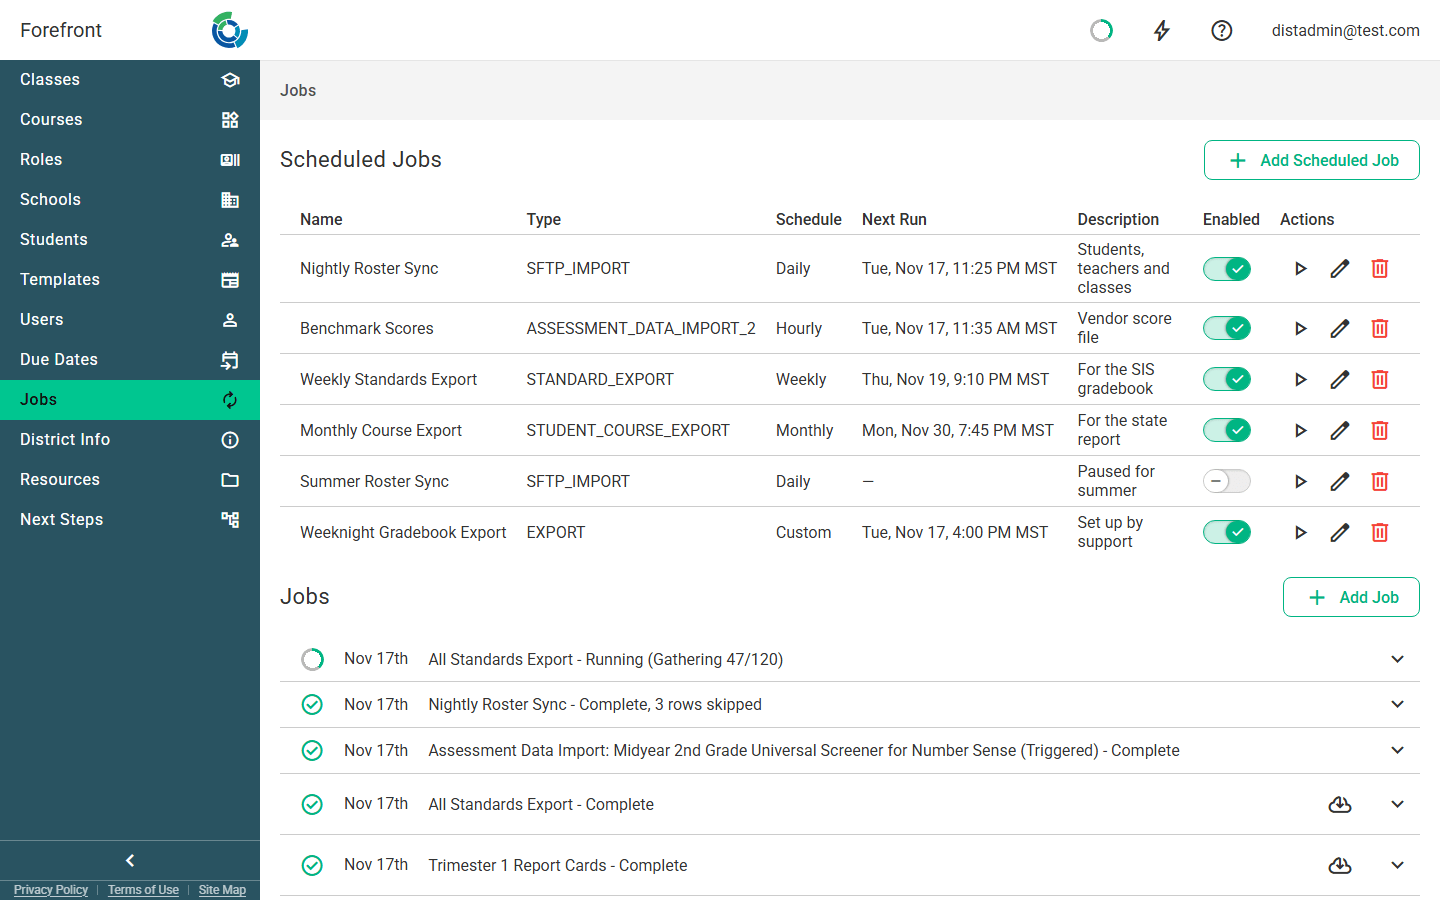
- Add Scheduled Job
2. Select SFTP Roster Import, then click Select.
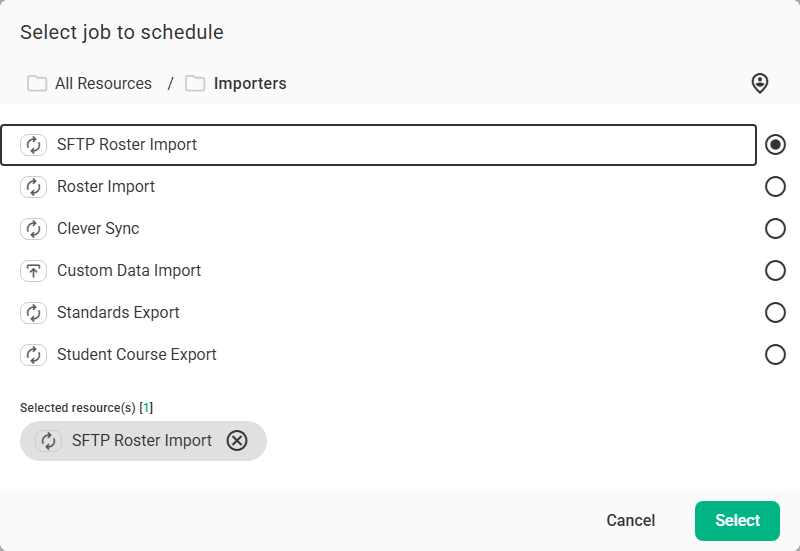
- SFTP Roster Import
3. Finish creating the scheduled job.
Give the job a Name. Under How often, choose how often the import runs: Hourly, Daily, Weekly, or Monthly. Most districts choose Daily. Next to At, choose an hour after your roster file is usually uploaded, so the import picks up that day’s file. Forefront picks the minute within that hour, and Next runs shows the next three times it will run, in your own time zone. For more on how the time is chosen, see Jobs.
Below that, choose the files in your Secure Files folder that the job imports, then click Schedule.
The import runs on its own each time its scheduled time comes around. To try it out right away, click on the job’s row. It runs as soon as you confirm.
Troubleshooting:
Issue: Error that says “unknown column headers” when using a PowerSchool export.
PowerSchool defaults to a Carriage Return to delineate each line of data. This needs to be changed to a Line Feed.