 Forefront
Image Block
Add a picture to a handout, then size it, align it, and give it a caption.
An image block holds one picture: a logo, a diagram, a photo of student work.
Adding an image
Choose Image from the + menu, the right-click Create menu, or the / menu. Your computer’s file picker opens straight away. Pick a PNG or JPEG file. You can also drag an image file from your computer straight into the handout.
The image goes in centered, at its own size or the width of the page, whichever is smaller. If you close the file picker without choosing anything, the block waits with an Add image button so you can choose one later.
Files can be up to 250 MB. Very large photos are scaled down when they’re uploaded.
Image settings
Select the image to open the Image tab in the ribbon:
- Align Image Left, Align Image Center, and Align Image Right move the image across the page.
- Set width opens the Image Width window, where you type an exact width in pixels. The height changes to match. An image can be anywhere from 60 pixels wide up to the width of the page or its own width, whichever is smaller. It’s never stretched bigger than the original.
- Fullscreen opens the full-size original.
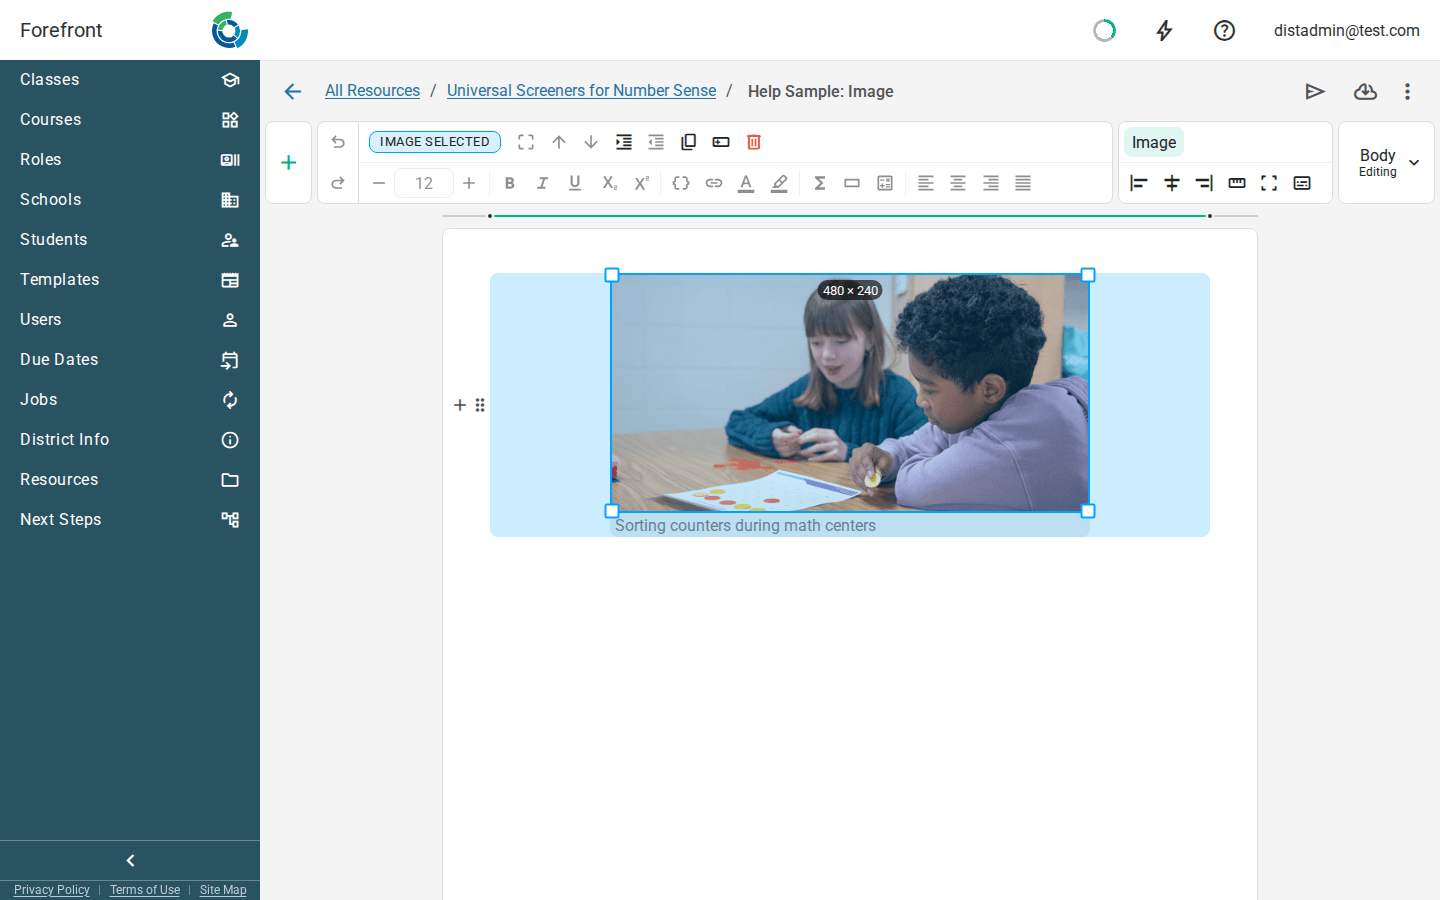
- Caption adds a line of text under the image. Leave it empty and it’s removed when you click away.
You can also resize the image by dragging any of its four corners. It keeps its shape as you drag, and the new size shows while you do.
In print and email
The image appears everywhere the handout does, at the size you set in the editor. It only gets smaller when the space it’s in is narrower, such as on a phone. Printed copies and PDFs use a sharper copy of the image than the screen does. Families viewing the handout in Forefront can click the image to see it full size.
Where you can use it
Images can go anywhere in a handout, including in a table cell, a column, and a stack layer. They’re also available in assessment instructions and district templates.
For the other kinds of block, see Handout Blocks.